Tomcatのダウンロードとインストール方法を備忘録として残しておきます。
※本手順ではJDK11を使用しますので、予めインストールしておいてください。
Tomcatのダウンロード
TomcatはApacheのサイトからダウンロード可能です。
本手順では、Tomcat 9.0.34をダウンロードします。
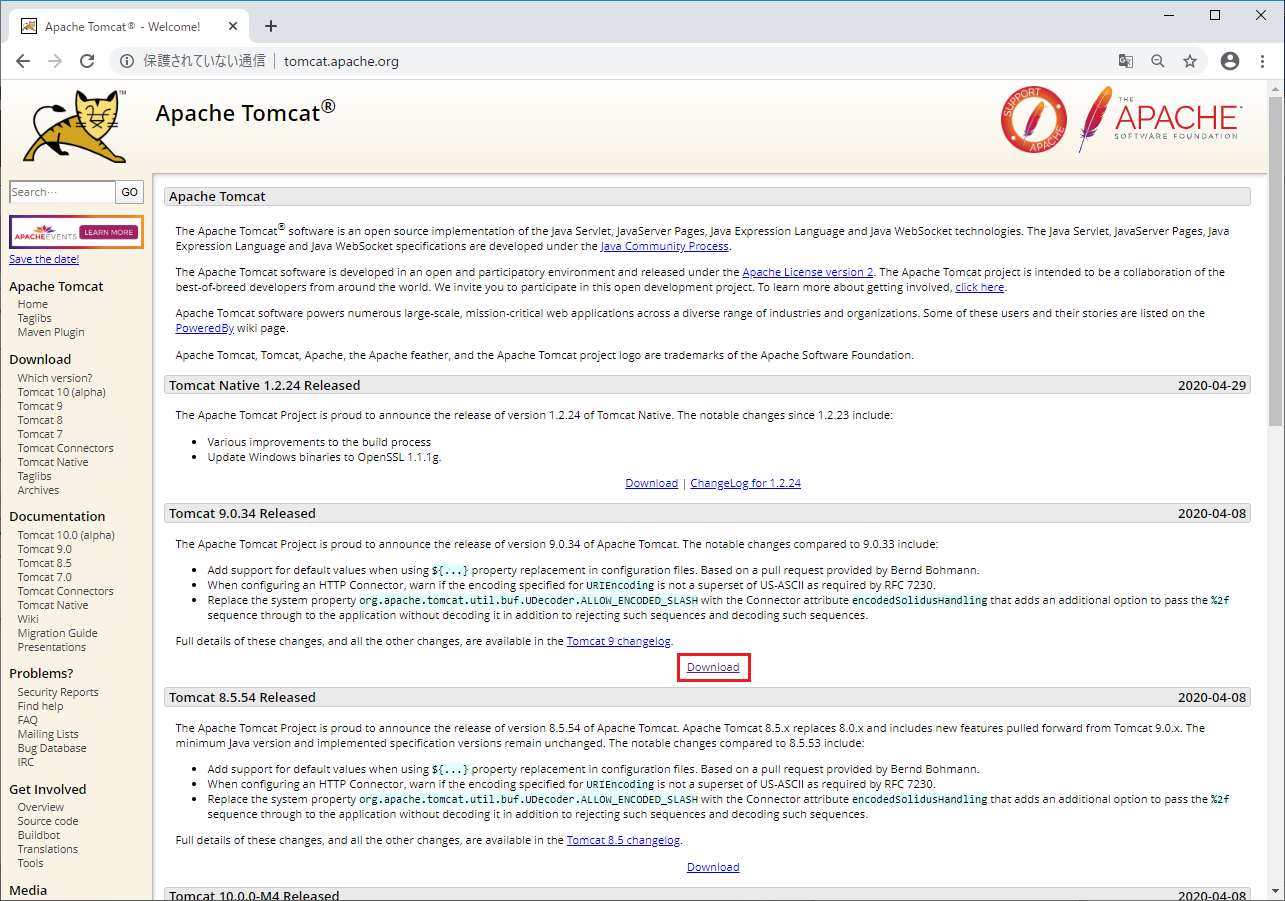
本手順では、Windows環境にインストールするため、「32-bit/64-bit Windows Service Installer」をクリックしダウンロードします。
「apache-tomcat-9.0.34.exe」を任意の場所に保存します。
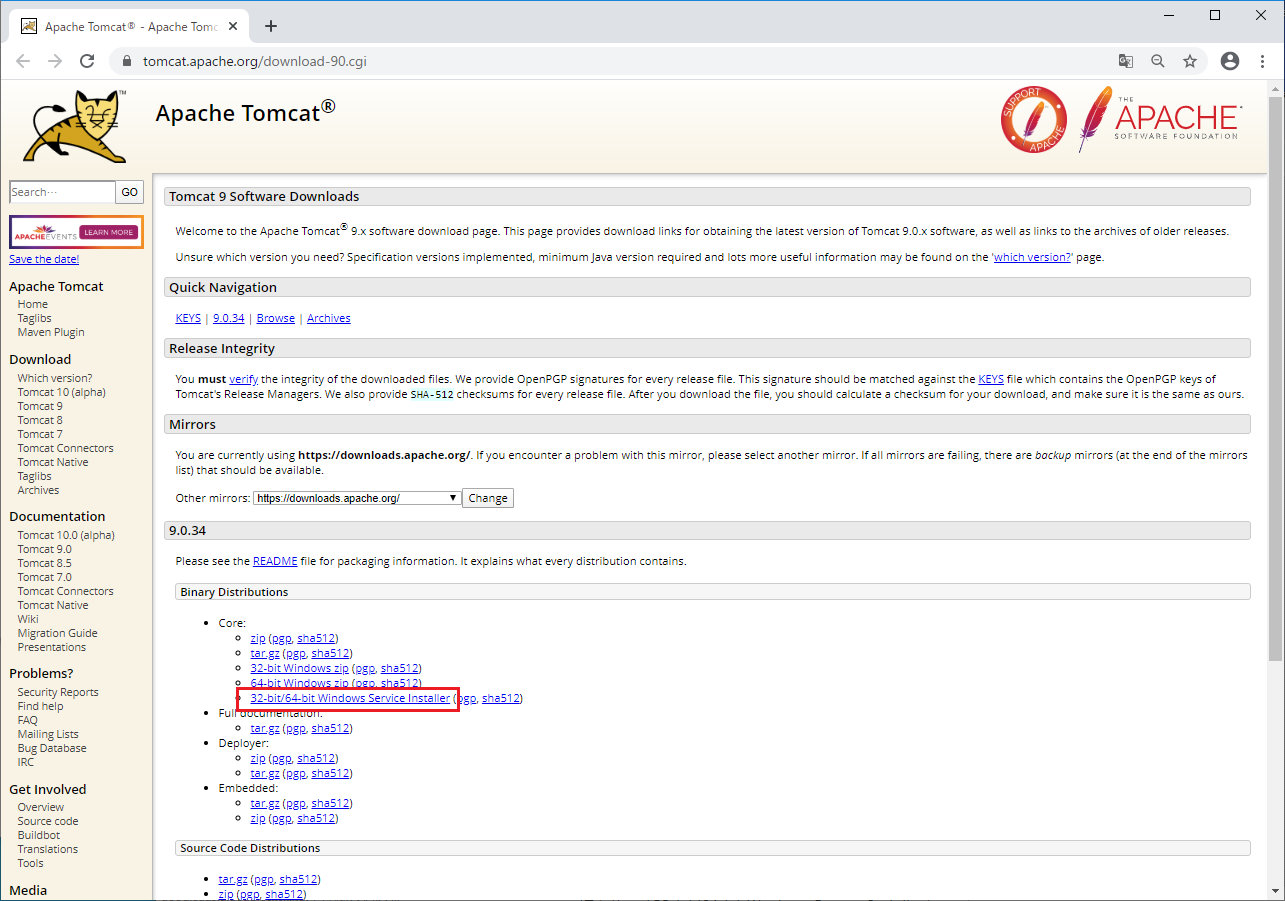
Tomcatのインストール
ダウンロードした「apache-tomcat-9.0.34.exe」をダブルクリックします。
画面が表示されたら「Next」ボタンを押します。
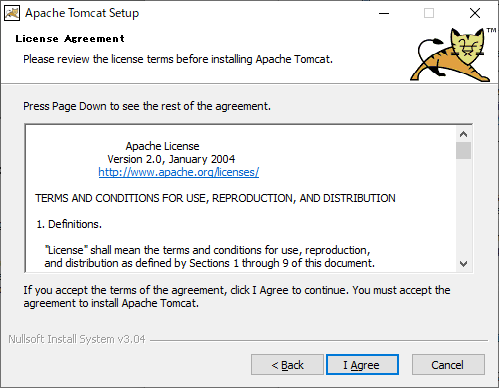
内容を確認し「I Agree」ボタンを押します。
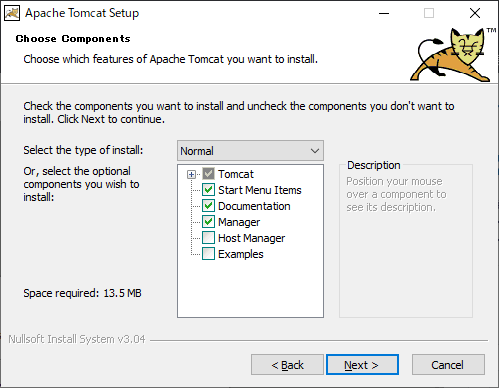
本手順では、デフォルト状態で「Next」ボタンを押します。
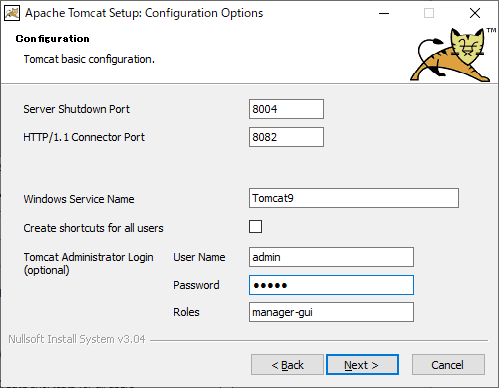
本手順では、以下の項目を入力してから「Next」ボタンを押します。
Server Shutdown Port : 8004
HTTP/1.1 Connector Port : 8082
Tomcat Administrator Login User Name : <任意のユーザー名>
Tomcat Administrator Login User Password : <任意のパスワード>
※8080ポートは何かと他でも使用しそうなので、使わなそうなポートに変更しています。
※Tomcatの管理者画面にアクセスする手順にしていますので、ユーザー名/パスワードは設定しておいてください。追加し忘れた場合は、インストールディレクトリ配下の「conf/tomcat-users.xml」に手動でユーザー名/パスワードを加えてください。
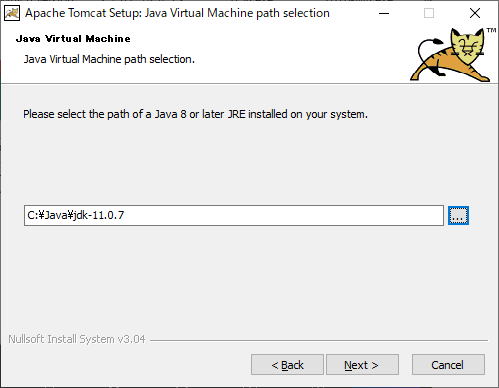
JVMがインストールされているフォルダを指定し、「Next」ボタンを押します。
※Java8ではJREのフォルダです。
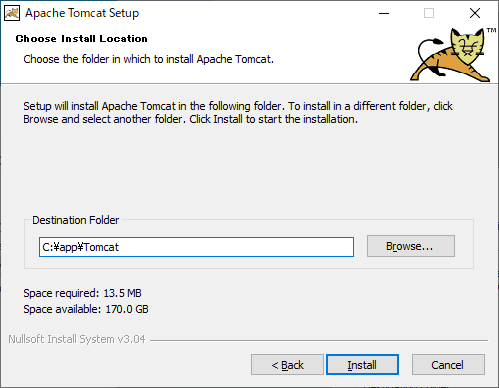
本手順では、Tomcatのインストール先フォルダを「C:\app\Tomcat」に変更しています。(パスを短くしたかったので)
変更の必要がなければそのまま「Install」ボタンを押します。
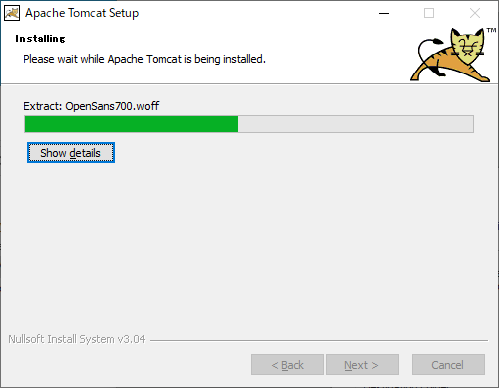
インストールが終了すると次の画面が表示されます。Readmeは見なくてよければチェックを外します。「Finish」ボタンを押して終了です。
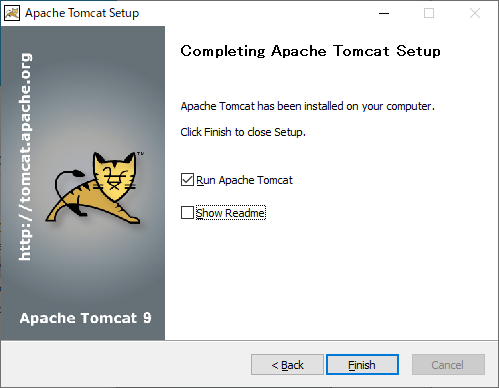
「Run Apache Tomcat」にチェックを入れている場合、Tomcat起動開始します。
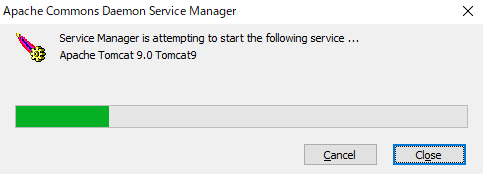
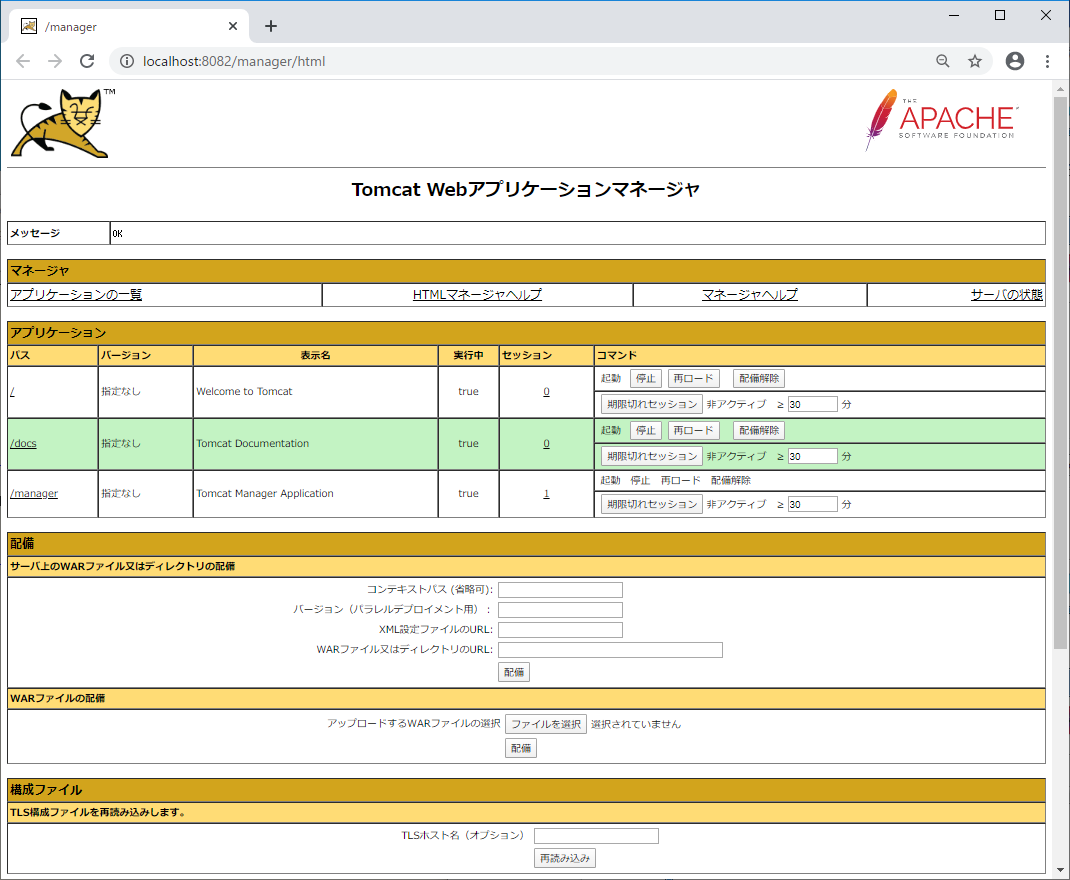
次は、Tomcat起動している状態で、管理画面を見てみます。
Tomcatの管理者画面
Tomcatの管理者画面にアクセスします。
http://localhost:8082/manager/html※ポート番号は設定した番号に合わせてください。
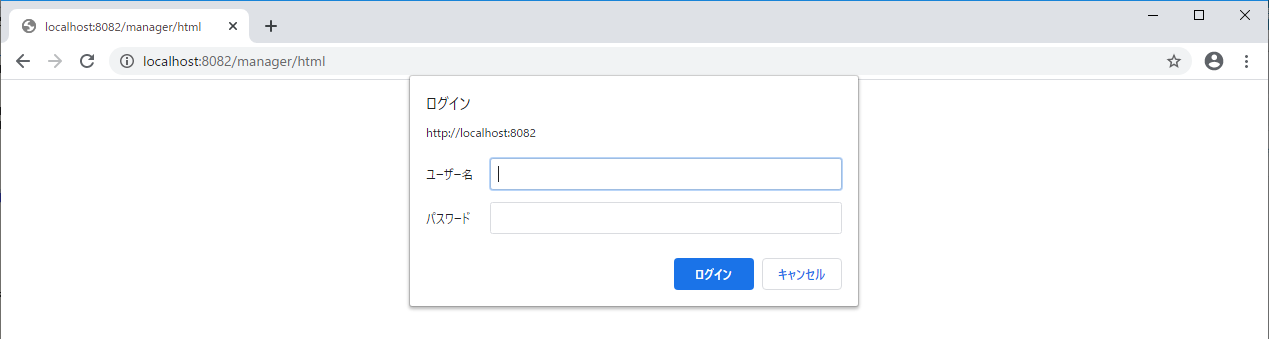
ユーザー名 : <Tomcat Administrator Login User Name で指定した任意のユーザー名>
パスワード : <Tomcat Administrator Login User Password で指定した任意のパスワード>
でログインします。
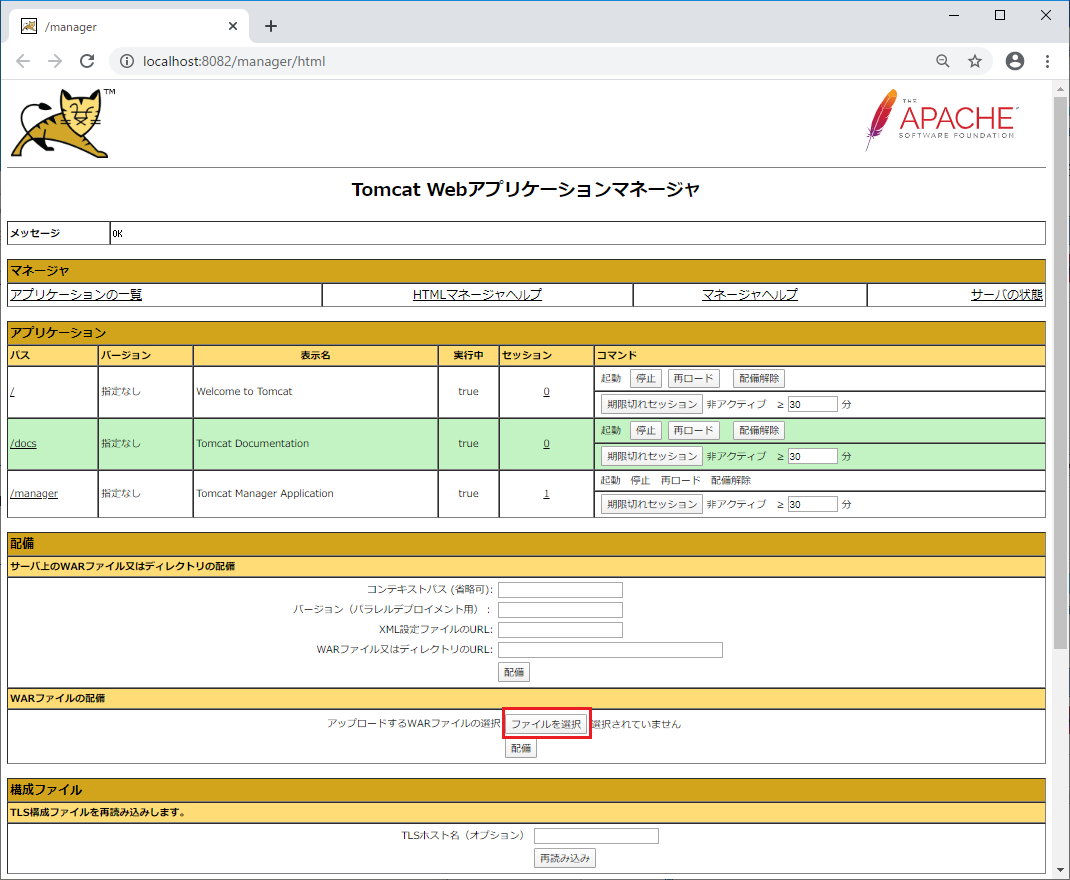
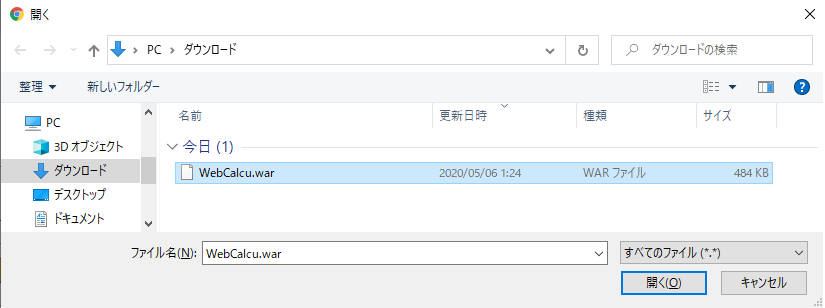
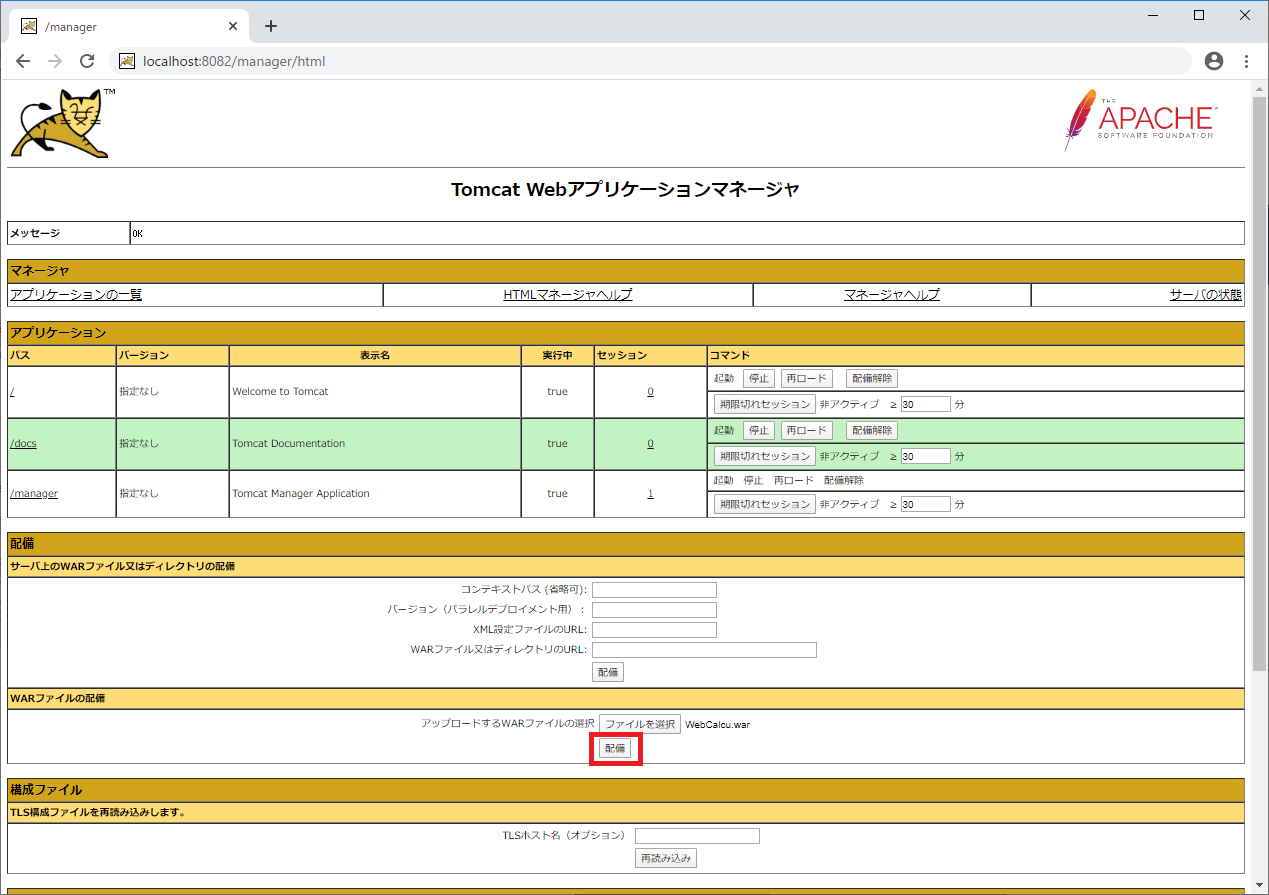
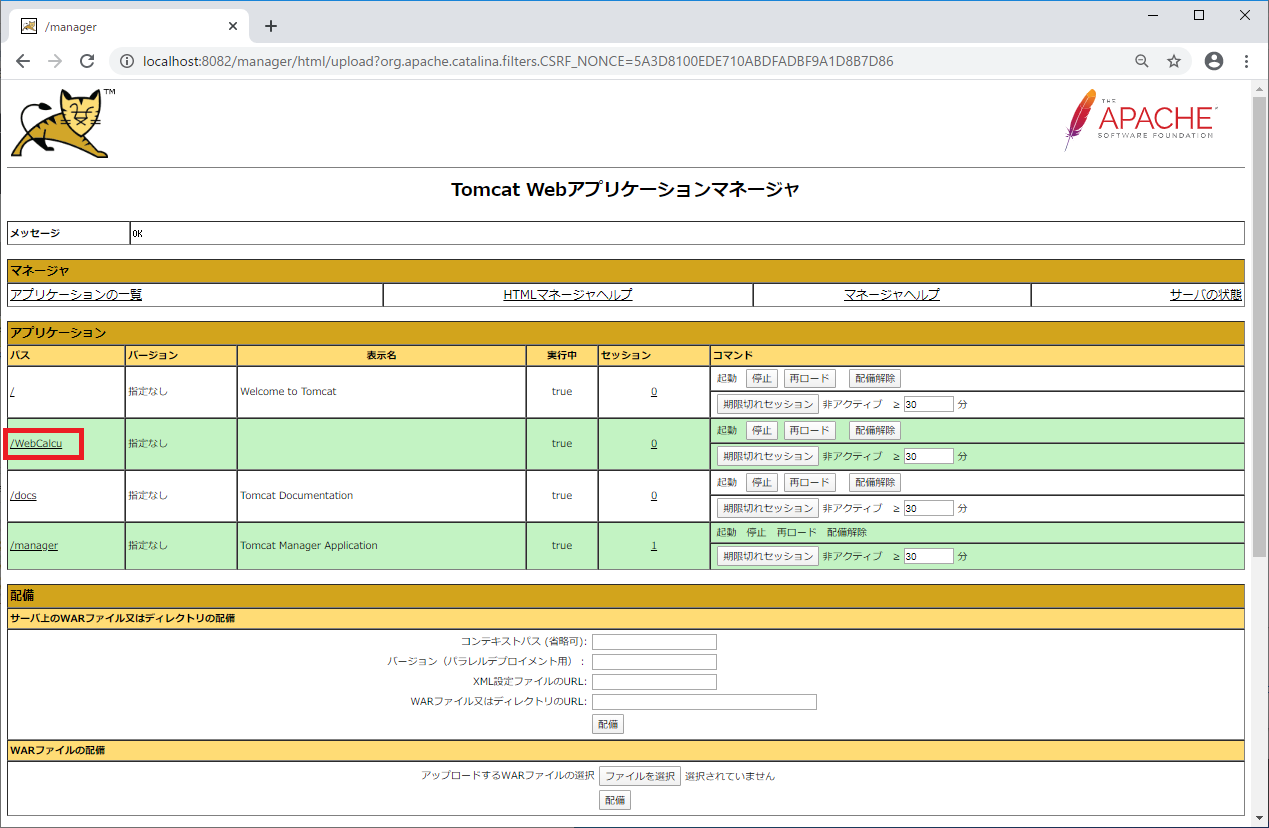
デプロイ
デプロイする場合、作成したwarを以下のようにアップロードします。
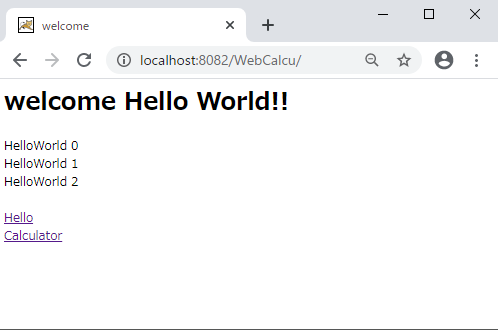
以上となります。お疲れさまでした。